Smoke Alarm Placement Basics
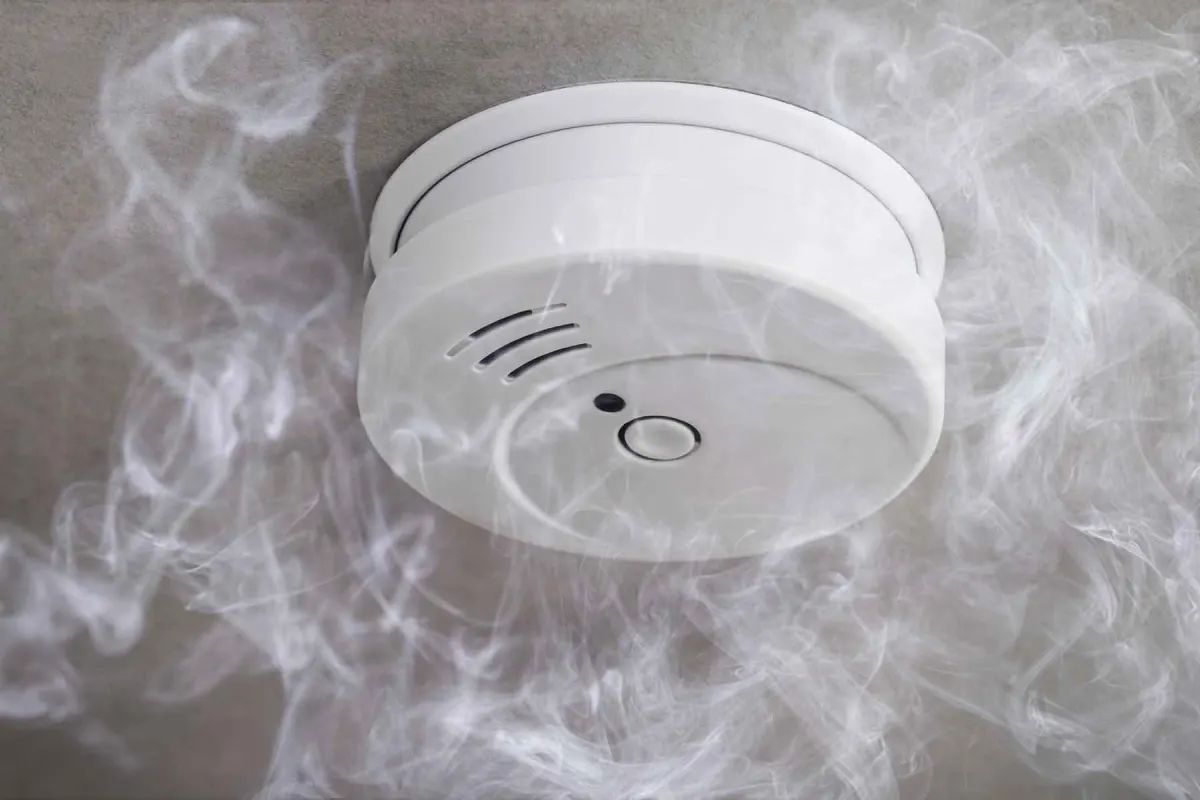
Smoke alarms are designed to sense smoke particles, not flames. Placement affects how quickly smoke reaches the sensor, which depends on airflow, ceiling height, and room layout. In a typical home, you get the best coverage by placing alarms near bedrooms and along escape routes, then adjusting for special spaces like kitchens and garages.
Most jurisdictions in the United States require smoke alarms in or near sleeping areas and on each level of a home. Many building codes also require interconnection for new installations, so one alarm sounds when another detects smoke. If you rent, your local landlord-tenant rules may control who replaces alarms, but you can still check the date and test them.
Spacing rules are not one-size-fits-all because smoke movement changes with ceiling shape and HVAC supply locations. A common practical approach is to follow the manufacturer’s placement instructions for the specific model, then verify coverage by testing and observing where nuisance alarms occur. I once saw a hallway alarm that kept chirping after a battery swap because the unit was mounted slightly off-level; the chirp pattern matched a low-battery condition, not a placement issue, and the fix was mechanical alignment.
Common Spacing Mistakes
People often place alarms too close to kitchens, bathrooms, or forced-air vents, which increases nuisance alarms or delays detection. Another frequent error is mounting an alarm in a spot where smoke must travel through a closed door before reaching it, such as deep inside a bedroom closet. Smoke can also stratify under ceilings, so placing an alarm too low can reduce the chance that smoke reaches the sensor quickly.
Dependencies matter. Ionization and photoelectric alarms respond to different smoke characteristics, and their placement guidance assumes a certain smoke path. Interconnected systems add another dependency: if one alarm is dead or removed, the network may not alert the rest. Some alarms use sealed lithium batteries, others use replaceable batteries, and the replacement schedule differs by power design.
Ceiling height and beam geometry also change spacing. Many manufacturers specify maximum distances from walls and from each other, plus special rules for sloped ceilings and peaked roofs. If you ignore those details, you can end up with coverage gaps in corners where smoke arrives late, or with alarms that trigger from cooking aerosols.
Spacing Rules You Can Apply
Use the manufacturer’s instructions as the controlling document for your exact model, because spacing limits and ceiling rules vary by design. In general, smoke alarms are mounted on ceilings or high on walls, with the goal of keeping the sensor in the path where smoke accumulates first. For flat ceilings, many instructions describe maximum spacing between alarms and minimum clearance from walls, often expressed in feet and inches.
For example, a typical residential layout uses one alarm in the hallway outside bedrooms and one on each level. If a hallway is long, you may need additional alarms so that smoke from a room reaches at least one sensor quickly. If you have a split-level or a finished basement with a stairwell, stairways act like chimneys for smoke, so placing an alarm near the top and/or bottom of the stair run often matches how smoke travels.
Sloped ceilings require special mounting points. Many photoelectric and ionization models specify a maximum distance from the peak or a rule for measuring along the slope. If you have exposed beams, follow the manufacturer’s guidance for whether the space between beams counts as separate ceiling compartments.
As a practical aside, I keep a small checklist in a home binder with the alarm model number and the date of installation. On my last walkthrough of a rental unit, the tenant had installed alarms but not recorded the model; when one failed a test, the replacement process took longer because the exact instructions were missing. That kind of friction is avoidable.
Plan Coverage by Escape Routes
Start with bedrooms and the path out. Place alarms in or near sleeping areas and on each level, then add coverage along corridors that connect bedrooms to exits. If a hallway is the only route, mount an alarm in the hallway so smoke from a bedroom has a short distance to reach a sensor before it spreads through the rest of the home.
Use your floor plan to estimate distances. If the manufacturer lists a maximum coverage area per alarm, treat it as a ceiling limit, not a target. If you have HVAC registers that blow air toward a sensor, consider relocating the alarm slightly away from direct airflow, because forced air can push smoke past the unit.
After placement, test using the alarm’s test button. Many alarms require holding the button for several seconds; some models show a brief LED pattern during test. If the alarm fails to sound, replace the battery or check the power source before changing placement.
Match Alarm Type to Room Behavior
Photoelectric alarms generally respond well to smoldering smoke, while ionization alarms can respond quickly to flaming fires. Many households use a mix or choose combination units that include both sensing methods. Placement still matters because even the best sensor can miss smoke if airflow patterns keep smoke away from the sensing chamber.
Kitchens and bathrooms create nuisance risk. Smoke from cooking and steam from showers can trigger alarms, so follow the manufacturer’s guidance on distance from kitchens and bathrooms. Some jurisdictions allow alarms in kitchens only if they meet specific spacing rules; other setups use fewer alarms in those rooms and more coverage in adjacent corridors.
If you experience repeated nuisance alarms, adjust placement within the allowed mounting rules rather than disabling the alarm. A mild frustration many owners share is that the “hush” button stops the alarm but does not fix the airflow path that keeps triggering it.
Use a 10-Year Replacement Schedule
Many residential smoke alarms are designed for a 10-year service life. The alarm’s label usually states the replacement date or the manufacturing date plus a service-life period. Replace the entire unit at the end of its service life, even if it still passes the test button.
Some alarms have sealed batteries intended to last the full service life, while others use replaceable batteries. For sealed-battery models, the chirp pattern often indicates end-of-life rather than a simple battery drain. For replaceable-battery models, a low-battery chirp means the battery needs replacement, but the unit may still require replacement at the 10-year mark.
As a concrete planning method, set a calendar reminder for 9 years after installation and replace at year 10. If you install on 2026-03-15, schedule replacement around 2036-03. I’ve seen people wait for the chirp, and the unit sometimes reaches end-of-life during a busy season, which delays replacement.
Document, Test, and Interconnect
Testing verifies the alarm’s electronics and sensing chamber, not the correctness of placement. Still, regular tests catch failures early. Test each alarm monthly using the test button, and record results in a simple log with date and any observed LED or sound pattern.
If you have interconnected alarms, test them in a way that confirms the network. Some systems require a specific sequence, and a single disconnected unit can break the chain. When you replace one unit in an interconnected system, follow the manufacturer’s pairing or compatibility instructions so the network behavior remains consistent.
For hardwired alarms with battery backup, check the battery type and age. A low-battery chirp can occur even when the AC power is present, and that chirp can mask other alerts if you ignore it.
Educational Case Examples
Case 1: Hallway Coverage in a Two-Story Home
A family installs photoelectric alarms in a two-story home. They place one alarm in the hallway outside bedrooms and one near the stair landing, then add a third alarm because the hallway length exceeds the manufacturer’s maximum spacing guidance. After installation, they test each alarm and confirm that the interconnected system triggers all units. Two months later, cooking smoke causes nuisance alarms only when the kitchen door stays open; they adjust the hallway alarm position within the allowed mounting zone and improve kitchen door closure habits.
Case 2: Replacing a Chirping Unit at Year 10
A renter replaces batteries in a smoke alarm that chirps weekly. The chirp stops, but the unit’s label shows a manufacturing date that places it at the 10-year service-life boundary. The renter replaces the entire alarm unit rather than relying on battery replacement alone. The new unit is installed with the same mounting location, then tested to confirm sound and LED behavior. The household updates the maintenance log so the next replacement date is visible.
Placement Checklist and Table
The table below summarizes common placement decisions and tradeoffs. Use it as a planning aid, then confirm with your alarm’s manual.
| Situation | Typical Placement Goal | Common Risk If Misplaced | What to Check |
|---|---|---|---|
| Hallway outside bedrooms | Short smoke path to a sensor | Smoke reaches bedrooms before alarm | Distance to doors; mounting height |
| Long hallway | No coverage gaps | Late detection in far rooms | Maximum spacing per manual |
| Kitchens / steam rooms | Avoid nuisance triggers | Alarm silencing habits | Clearance from cooking sources |
| Sloped ceilings | Sensor sits in smoke layer | Smoke bypasses sensing chamber | Peak-distance and slope rules |
| 10-year service life | Replace worn sensing chamber | Reduced reliability after end-of-life | Label date; end-of-life chirp |
Step-by-step checklist for a placement and replacement plan:
- Find the alarm model number and read the placement section in the manual.
- Mark bedroom exits and stairways on your floor plan, then place alarms along those routes.
- Verify mounting height rules for flat ceilings, sloped ceilings, and beam spacing.
- Confirm you meet maximum spacing between alarms and minimum clearance from walls.
- Test each alarm and, if interconnected, confirm the network triggers across rooms.
- Record installation date and label-based replacement date in a maintenance log.
- Schedule replacement at year 10, not at the first chirp.
Common Mistakes That Reduce Trust
Some people treat the test button as proof of correct placement. Testing checks the alarm’s electronics and sensing chamber response, but it does not guarantee that smoke will reach the sensor quickly in your specific room layout. A unit can pass the test and still be mounted in a spot where smoke arrives late.
Another mistake is replacing only the battery after the unit reaches its service-life boundary. Many alarms are designed so the sensing chamber and electronics degrade over time, and the chirp can indicate end-of-life rather than a simple battery issue. If the label states a 10-year replacement schedule, replacing the entire unit is the matching action.
People also ignore ceiling and slope instructions. A common failure mode is mounting on a sloped ceiling at a height that the manual discourages, which can place the sensor outside the smoke layer. If you have a peaked roof, the manual’s peak-distance rule matters more than general “mount near the center” advice.
Finally, some households disable alarms after nuisance events. That behavior can delay response during a real fire. If nuisance alarms happen, adjust placement within the manual’s allowed zones and reduce the smoke source exposure path, like keeping kitchen doors closed during cooking.
FAQ
How far apart should smoke alarms be?
Distance limits depend on the alarm model and ceiling conditions. Use the manufacturer’s maximum spacing guidance for flat ceilings and follow separate rules for sloped ceilings and beam compartments.
Do smoke alarms need replacement after 10 years?
Many residential smoke alarms are rated for a 10-year service life, and the label or manual states the replacement timing. Replace the unit at the end of that service life even if it still passes the test button.
What does a chirping smoke alarm mean?
Chirping often indicates a low battery or end-of-life condition, depending on the model. Check the alarm’s label and the manual for the specific chirp pattern meaning.
Where should smoke alarms go in bedrooms?
Place alarms in or near sleeping areas and along the escape route outside bedrooms. If a hallway is the main path, mount an alarm in the hallway so smoke from a bedroom reaches it before spreading.
Can I use the hush button during cooking?
The hush button can silence a nuisance alarm temporarily, but it does not fix the placement or airflow cause. If nuisance alarms repeat, adjust placement within the manual’s rules and reduce steam or cooking aerosol reaching the sensor.
Author's Insight
Smoke alarm performance depends on both sensing technology and the physics of smoke movement. Placement guidance in manuals exists because ceiling height, airflow, and room geometry change how quickly smoke reaches the sensor. A 10-year service life reflects aging of sensing components and electronics, so battery replacement alone can miss end-of-life degradation. For practical reliability, pair correct mounting with routine testing and a documented replacement schedule.
When guidance conflicts between a general rule and your specific alarm’s manual, the manual wins because it describes the unit’s intended mounting geometry. I also recommend keeping the model number and installation date in a home log; it reduces guesswork during replacements and helps when interconnected alarms need consistent pairing.
Key Takeaways
- Use the alarm manual for spacing and mounting height; general advice cannot cover sloped ceilings and beam geometry.
- Place alarms along escape routes near sleeping areas and on each level, then add units if hallway length creates coverage gaps.
- Replace smoke alarms at the end of their labeled service life, often 10 years, even if the test button still works.
- Test monthly and confirm interconnected systems trigger across rooms.
- Address nuisance alarms by adjusting placement within allowed rules and reducing smoke exposure paths, not by ignoring alerts.