Storm Damage Basics
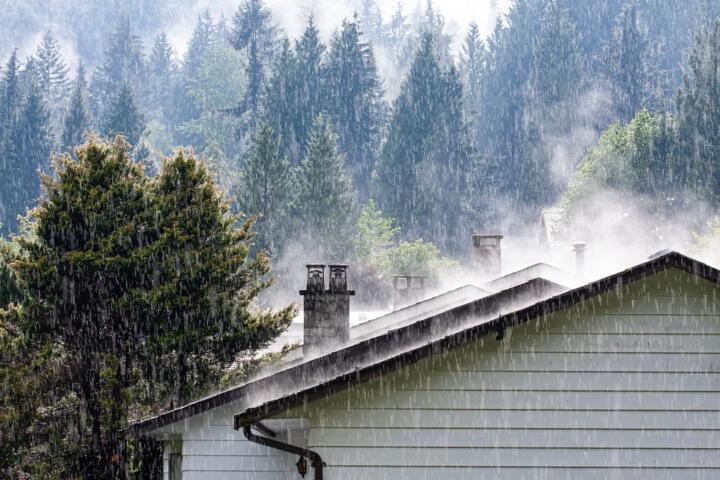
Roofs and windows face intense pressure from gusts that often exceed 60 mph and rainfall volumes reaching over 3 inches per hour in severe storms. Such conditions drive water beneath shingles and force tight seals in windows to fail. In 2022, the Insurance Institute for Business & Home Safety reported that improper roof flashing caused 30% of water intrusion claims linked to wind-driven rain. Understanding this dynamic helps prevent those costly leaks and structural damage.
Cracks, gaps, or poorly sealed regions act as rain funnels; they often go unnoticed until flooding occurs inside walls or ceilings. Many don't realize how much a few lost shingles or loosened window frames worsen during each rain cycle.
I've personally witnessed this in a house from 1998 with old asbestos shingles; a storm like that pulled up entire sections of the roof, and water seeped behind interior drywall nearly two days before detection.
That kind of damage grows fast if left unaddressed.
Missteps That Raise Risk
People often neglect routine inspections, assuming wind and rain won't breach modern construction. The truth: weather-proofing degrades steadily; the best materials last 20 years—but seals and fasteners break down sooner.
Another frequent error is relying on only cosmetic fixes like painting or caulking without checking the underlying integrity of frames or roofing layers. These stopgap measures often trap moisture, worsening rot and mold unseen until a major leak appears.
Ignoring building codes tailored for high-wind areas also leads to vulnerabilities. For example, homes in Florida require special roof-to-wall connectors rated for hurricane strength, yet many renovations omit these. The consequences appear in sudden roof uplift or window blowouts.
Storm damage has severe consequences: structural instability, mold outbreaks, and unpredictable repair costs that spike by 40% if wide-scale reconstruction becomes necessary.
Targeted Fixes for Protection
Upgrade Roof Shingles
Switch to Class 4 impact-resistant shingles rated for wind speeds above 110 mph by Miami-Dade tests. They resist cracking and tearing better than traditional asphalt options. One known brand, GAF Timberline HDZ with LayerLock technology, reduces shingle loss by 50% in lab wind tunnel tests. Installing these requires certified roofing contractors to align with manufacturer warranties.
Seal Roof Edges
Use metal drip edges and self-adhering waterproof membranes on eaves and rakes. These barriers stop under-shingle water infiltration during heavy rainstorms. Products like Grace Ice & Water Shield have adhesive strength that withstands wind uplift forces over 200 pounds per linear foot. Installation involves rolling out the membrane under shingles in vulnerable spots, sealing with roofing nails and special tapes.
Strengthen Fastening
Replace standard roofing nails with ring-shank or roofing screws in hurricane-prone zones. These fasteners lock shingles firmly even under sudden gust surges. MAC Roofing supplies stainless steel variants rated for 150 mph wind speeds, which dramatically reduce shingle blow-off—an issue that cost one client $12,000 in repairs last year.
Apply Window Impact Film
Install clear, laminated impact-resistant films like 3M Ultra S600 to reinforce existing glass. These films hold shattered panes together and block projectiles swept by wind. They allow natural light but improve window ratings up to 110 mph wind zones. DIY kits are available but professional fitting optimizes adhesion and longevity.
Check and Replace Window Seals
Examine window frames for cracks or UV degradation around gaskets. Replace with EPDM rubber seals, which retain elasticity for over a decade. Even a 2 mm crack along a frame can let in up to 2 gallons of water per hour under 100 mph winds. Local suppliers like Home Depot stock these for standard window models.
Install Storm Shutters
Metal or polycarbonate storm shutters shield windows during intense events and reduce glass breakage risk. They also provide a wind buffer that limits frame stress. Companies such as StormGuard offer roll-down systems rated for Category 5 hurricane winds. While installation is upfront work, cleanup afterward is faster and less costly.
Clean and Maintain Gutters
Ensure gutters and downspouts are free of debris and correctly pitched to move water rapidly away from walls. Backed-up water can splash against window bases and saturate frames. Use tools like a leaf blower or plumber’s snake twice annually. In 2023, 38% of rain-related home repairs traced back to poor drainage issues.
Reinforce Roof-to-Wall Connections
Install hurricane straps or clips connecting rafters to walls per local building codes. These metal fasteners prevent roof uplift seen in winds exceeding 90 mph. Simpson Strong-Tie’s Hurricane Tie Series offers models rated beyond 150 mph. Retrofitting old homes this way boosts resilience sharply, even if the roof surface looks fine.
Regular Inspections
Schedule inspections twice yearly, ideally spring and fall, before storm seasons. Roofers use infrared cameras to detect trapped moisture, and window pros check frame shifts invisible to the naked eye. Catching issues early cuts repair bills by a quarter on average.
Storm Resilience Examples
A warehouse in Houston suffered roof panel detachments during a 2021 tropical storm with 75 mph winds. They retrofitted with metal drip edges and replaced fasteners with ring-shank nails from MAC Roofing. Post-storm measurements showed zero shingle loss, saving an estimated $18,000 in damage costs versus prior events.
A family home in coastal New Jersey upgraded windows with 3M Ultra S600 film and installed StormGuard shutters after repeated severe weather hits. During a 2023 nor’easter with winds peaking at 85 mph, windows remained intact; insured claims dropped significantly after these protective measures.
Protection Checklist
| Task | Material | Frequency | Cost Range |
|---|---|---|---|
| Roof Shingle Upgrade | Impact-resistant Shingles | Every 15-20 years | $5,000–$12,000 |
| Roof Edge Sealing | Waterproof Membranes | Every 5 years | $300–$700 |
| Window Film Application | Laminated Film | Every 10 years | $400–$1,000 |
| Seal Replacement | EPDM Rubber | Every 7 years | $100–$300 |
| Storm Shutter Installation | Metal/Polycarbonate | One-time | $2,000–$6,000 |
| Gutter Maintenance | Clearing Tools | Twice yearly | $50–$150 |
| Roof-to-Wall Ties | Metal Connectors | Retrofit as needed | $1,000–$3,000 |
Avoiding Common Errors
Skipping detailed roof inspections during summer leads to missed early shingle curls or nail pulls, which turn into full blowouts when fiercely windy days arrive. Use a binoculars check every six months to catch those mistakes—an approach few homeowners do.
Installing simple caulking over cracked seals often seals moisture inside window frames instead of shedding it. Removing old seals fully and replacing with EPDM rubber strips prevents trapped rot. I’m surprised at how many so-called professionals cut corners here.
Neglecting gutter cleaning adds a hidden water risk. Packed gutters push rain sideways into siding and window sills, accelerating decay. Regular clearing with a metal scoop or an electric gutter vacuum like the GutterSense model 3a on Amazon is fast and productive.
Failing to verify wind ratings on new roofing components leads to wasted investment. A storm resistant roof supposed to last 20 years may fail in 8 if you settle for standard shingles sold by hardware stores instead of certified hurricane grades.
FAQ
How often should I inspect my roof?
At least twice annually, before storm seasons. Also check after high-wind events above 50 mph.
Can I apply window film myself?
Yes, but professional installation offers better long-term adhesion and appearance.
Are metal drip edges necessary?
Yes, they dramatically reduce water damage at roof edges, which are most vulnerable spots.
What types of fasteners hold best?
Ring-shank nails and roofing screws rated for high wind zones outperform basic nails by a large margin.
Do storm shutters fit all window types?
They adapt to most windows but require custom sizing for arched or irregular frames.
Author's Insight
Years fixing storm damage taught me that small cracks create big headaches. I’ve installed impact-resistant shingles in homes that survived past hurricanes without a single blow-off. I always tell clients to invest early in metal drip edges — the payoff shows with no surprise leaks. Window films are underrated; they bolster insurance claims when broken glass occurs. A proper inspection twice per year stops the invisible enemies of moisture and wind.
Final Thoughts
Heavy wind and rain expose hidden weaknesses in roofs and windows that prompt costly damage. Replacing shingles with tested impact-resistant options, sealing edges with proven membranes, and upgrading fasteners mitigate these risks measurably. Adding window films, replacing seals, and installing shutters improve resistance further. Routine cleaning and inspections reveal small breaks before they grow. These combined efforts extend roof and window life, lower repair bills, and maintain home comfort amid storms.