Burst Pipe Photo Checklist
A burst pipe creates water damage, but the first hours also create documentation. Photos help show where water traveled, what materials were affected, and what conditions existed before drying and demolition. This matters for insurance claims, landlord reports, and contractor estimates, because later work can change surfaces, remove evidence, and blur the timeline.
Start photographing before you move furniture, remove baseboards, or run fans that spread moisture. If you already started cleanup, you can still document what remains, but the “before” record becomes thinner. I’ve seen claims stall when the only images show a wet floor after everything was wiped—useful, yet missing the path of the leak.
Use a phone camera with date and time enabled. On iPhone, check Settings → Camera → “Keep Settings” and ensure the system clock is correct; on Android, confirm the time zone and automatic date/time. If you use a tool like Google Photos or Apple Photos, avoid deleting originals, since edits can strip metadata.
Main Problems And Pain Points
People often photograph the obvious wet spot and stop there. That approach misses the evidence that helps others understand the leak source and water spread. A photo of a puddle under a sink tells less than a photo showing the pipe, the shutoff valve position, and the surrounding wall texture.
Another common mistake involves timing. Cleanup actions—mopping, removing drywall, or turning off power—change what can be seen. If you photograph after fans run for hours, the water line on porous materials can fade, and the “first contact” evidence becomes harder to reconstruct.
Supporting details depend on what caused the burst. A failed supply line, a frozen pipe, a failed washing machine hose, or a toilet wax ring leak each leaves different clues. Dependencies also include building layout and materials: tile floors reflect water differently than wood, and drywall behaves differently than plaster.
Finally, privacy and safety get mixed into documentation. Photos that include personal documents, children’s faces, or identifiable addresses can create avoidable friction when sharing with insurers or third parties. Safety matters too: if water is near electrical outlets, do not step into standing water to get a better angle.
Solutions And Advice
Photograph The Leak Source
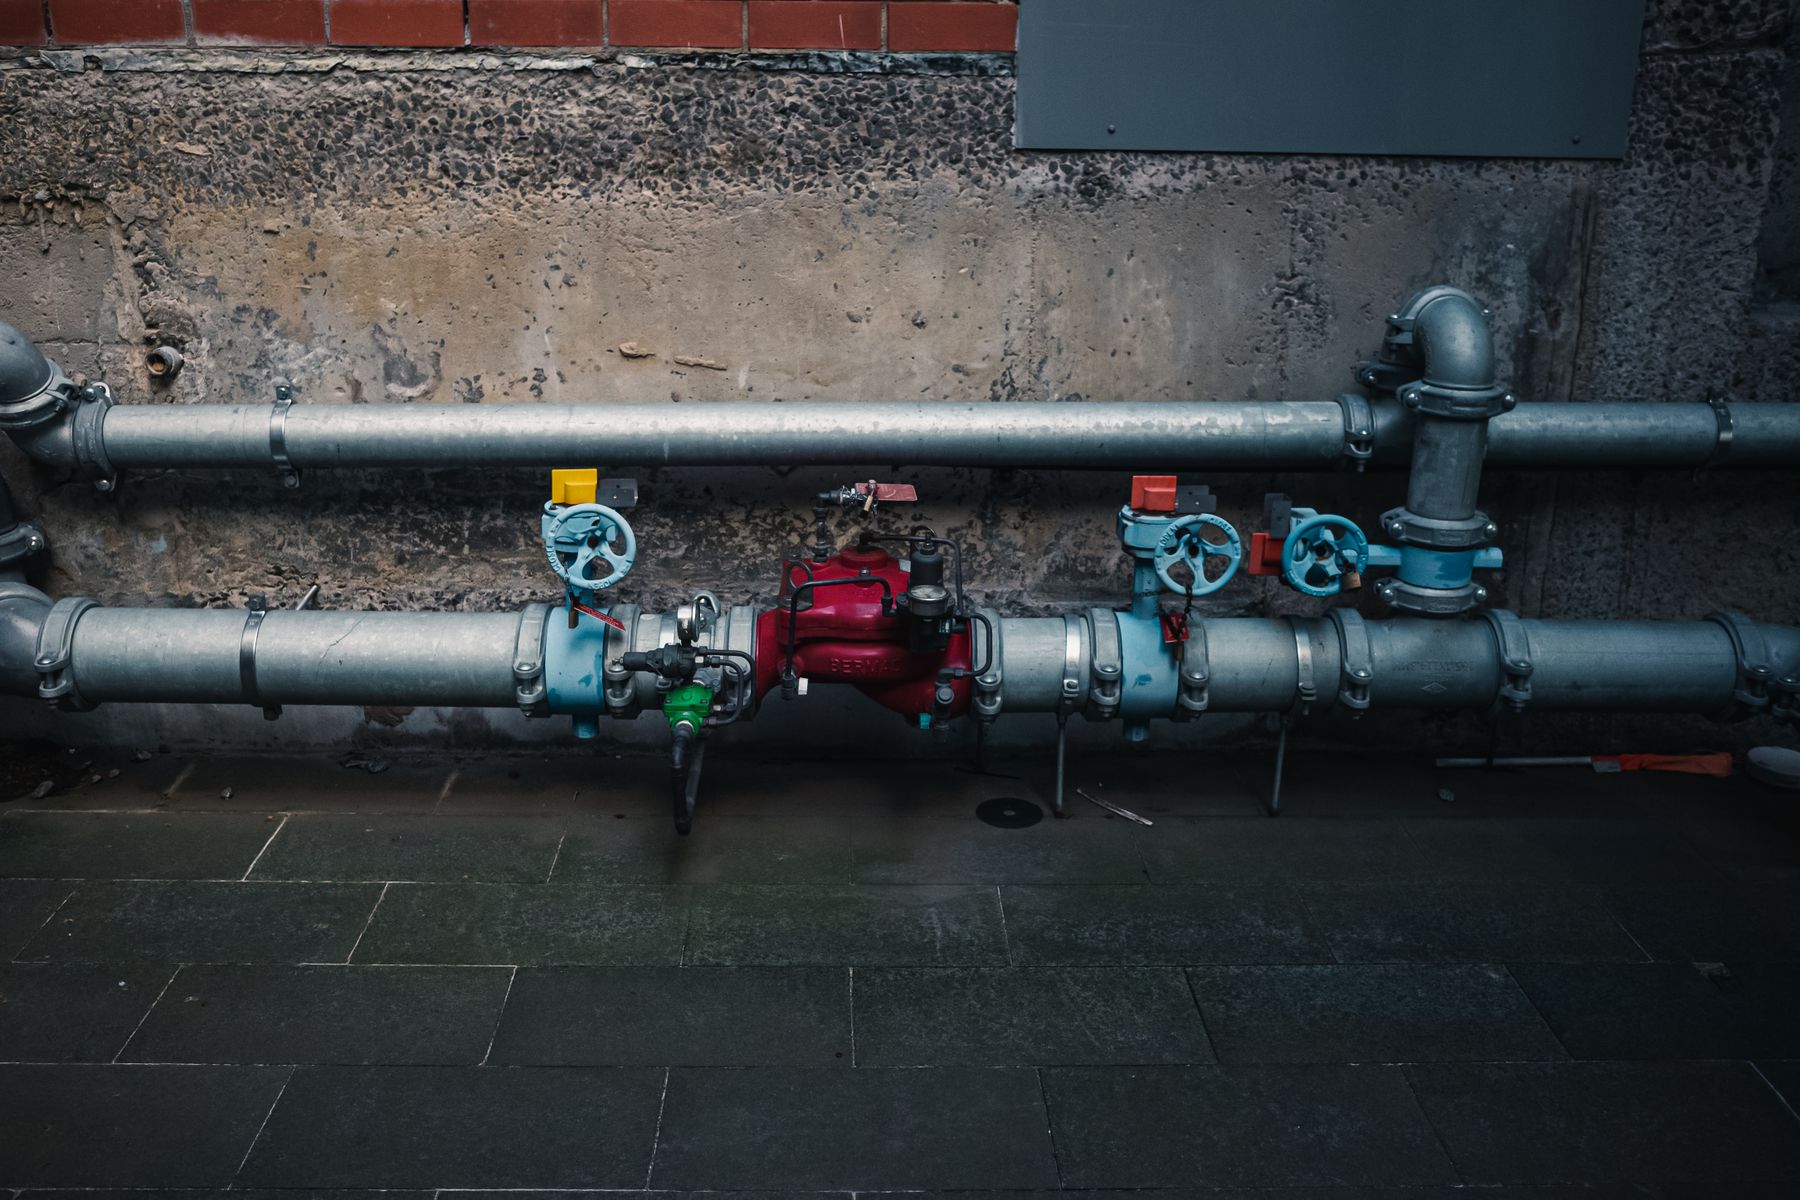
Capture the suspected origin before you disconnect anything. Include a close-up of the pipe or fitting, plus a wider shot that shows the room context. If the shutoff valve is accessible, photograph it in its current position and then photograph the valve label or markings if present.
Use a consistent reference for scale. A 12-inch ruler, a tape measure, or even a standard sheet of printer paper can help estimate distances. I prefer a tape measure because it records length in a way reviewers can interpret quickly, and it reduces guesswork when someone later asks, “How far did it run?”
Outcome expectation: you should end up with at least 6–10 images that show the source, the immediate surroundings, and the path starting point. If you only have one or two, you can still file a claim, but you’ll likely answer more questions later.
Show Water Path And Extent
Photograph the water line on walls and the edges of affected flooring. Take shots from multiple angles: one straight-on, one from the doorway, and one low to the ground to show how far water traveled. If water reached baseboards, photograph the baseboard height and any bubbling or staining.
For porous materials, document visible changes before drying. Wood swelling, warped laminate seams, and drywall discoloration can become less obvious after fans and dehumidifiers run. If you can safely do it, photograph under cabinets and along corners where water often creeps.
Outcome expectation: aim for a “map” of the affected area. A practical target is one photo per wall segment and one photo per doorway view, then add close-ups of the most damaged spots.
Record Time, Conditions, And Actions
Photos alone do not prove the timeline, so capture the conditions that anchor the story. Photograph the clock on a wall, a digital thermostat reading, or a smart water shutoff app screen if you have one. If you turned off the main water valve, photograph the valve handle position and the date/time on your phone.
Write down a short log while you document. Include the time you noticed the leak, the time you shut off water, and the time you started drying. If you use a note app, keep the note timestamped; on iOS, the Notes app stores creation time, and on Android, many apps preserve metadata.
Outcome expectation: a simple timeline reduces back-and-forth. Insurers and landlords often ask, “When did you discover it?” and “When did mitigation start?” Your photos should support the answers.
Protect Evidence And Privacy
Keep originals and avoid heavy edits. Cropping can remove context, and filters can alter colors that show water staining. If you must crop, save a copy and keep the original in your camera roll.
Blur personal information when sharing. If a photo includes mail, bank statements, or ID documents, crop them out before sending. For faces, use your phone’s blur tools or retake the shot from an angle that excludes people.
Outcome expectation: you reduce privacy friction without losing technical detail. A reviewer can still see pipe routing and water spread even if you remove unrelated personal items.
Case Examples
A renter in a second-floor apartment noticed water under a kitchen sink at 7:40 a.m. They photographed the wet cabinet floor, then took a second set showing the supply line connection and the shutoff valve under the sink. They also captured a doorway-wide shot showing water staining on the adjacent hallway baseboard. When the landlord requested documentation, the renter’s images showed both the origin and the spread, so the contractor could estimate drywall removal without guessing.
A homeowner experienced a frozen pipe burst in a garage wall. They photographed the exposed pipe section after they turned off the main water and before they opened the wall further. They included a tape-measure shot for scale and a photo of the thermostat reading from the day’s morning routine. Later, when fans ran, the homeowner photographed remaining discoloration and warped trim so the claim reflected the pre-drying condition.
Comparison Checklist For Photos
| Photo Type | What It Shows | Best Time To Take | Common Failure |
|---|---|---|---|
| Leak Source Close-Up | Pipe, fitting, valve position | Before disconnecting or opening walls | Only puddle photos, no origin |
| Room Context Wide Shot | Where the leak sits in layout | Before moving furniture | No reference points |
| Water Path And Edges | Extent on walls and floors | Before wiping and after discovery | Water line erased by cleanup |
| Material Damage Close-Ups | Staining, swelling, bubbling | Before drying changes appearance | Only one angle, no detail |
| Timeline Anchors | Clock/app readings, actions taken | Immediately after shutoff | No time context |
7 things to photograph before cleanup:
- Leak source close-up (pipe, fitting, valve, or hose connection).
- Room context wide shot showing where the source sits.
- Water path edges on floors and baseboards.
- Water lines on walls, including corners and seams.
- Any visible material damage (bubbling paint, warped trim, swelling).
- Shutoff valve position and any relevant labels or markings.
- Timeline anchors (phone time, thermostat reading, or app screen) plus a quick photo of the area before fans run.
Common Mistakes
Taking only “after” photos is the most frequent issue. Once you wipe and dry, the water line on drywall and the staining pattern on wood can change, and reviewers lose the ability to estimate how far water traveled.
Another mistake involves moving items before documenting. If you pull up rugs, remove wet boxes, or shift furniture, you lose the evidence of where water first contacted surfaces. A better approach is to photograph the area as-is, then move items only after you capture the layout.
People also over-edit. Overexposure, heavy filters, and aggressive cropping can hide the exact color shift that indicates water saturation. If you need to brighten a dark photo, do it lightly and keep the original.
Finally, some photos cross safety lines. If water is near outlets or electrical panels, do not step into standing water for a better angle. Document from a safe position and prioritize turning off power when appropriate, then photograph again once the area is safe.
FAQ
What should I photograph first?
Start with the leak source close-up and a room-wide shot that shows where that source sits. Then photograph the water path edges on floors and baseboards before wiping.
Should I photograph inside cabinets and under sinks?
Yes, if it is safe to access. Include a close-up of the pipe or hose connection and a wider shot showing the cabinet interior and surrounding surfaces.
Do photos need to include measurements?
Measurements help when the affected area is hard to describe. A tape measure in-frame for the most damaged section can reduce back-and-forth during review.
Can I share photos with my landlord or insurer right away?
Share after you capture the full set and keep originals. Crop out personal documents or faces if they appear, and avoid deleting edited versions that remove context.
What if I already cleaned before taking photos?
Document what remains: visible staining, warped trim, damp insulation, and any opened wall sections. Add a written timeline of discovery, shutoff, and drying start so reviewers can reconstruct the sequence.
Author's Insight
Good burst-pipe documentation focuses on three things: origin, spread, and timing. Origin photos show the likely failure point, spread photos show how far water traveled across materials, and timing anchors show when mitigation began. Phone cameras record timestamps, but edits and deletions can weaken the record, so keeping originals matters.
When evidence is incomplete, reviewers often ask for clarifications that could have been answered with a wider shot or a tape-measure reference. A short photo log paired with a simple timeline note reduces that friction.
Key Takeaways
- Photograph the leak source, the room context, and the water path before wiping or moving items.
- Capture shutoff valve position and timeline anchors so reviewers can place the event in time.
- Keep original images, avoid heavy edits, and crop out personal information before sharing.
- If you already cleaned, document remaining damage and write a clear timeline of actions taken.