Why Document Damage?
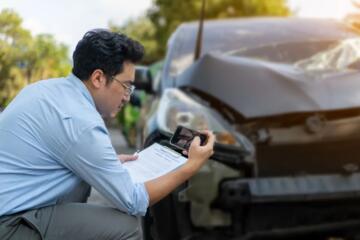
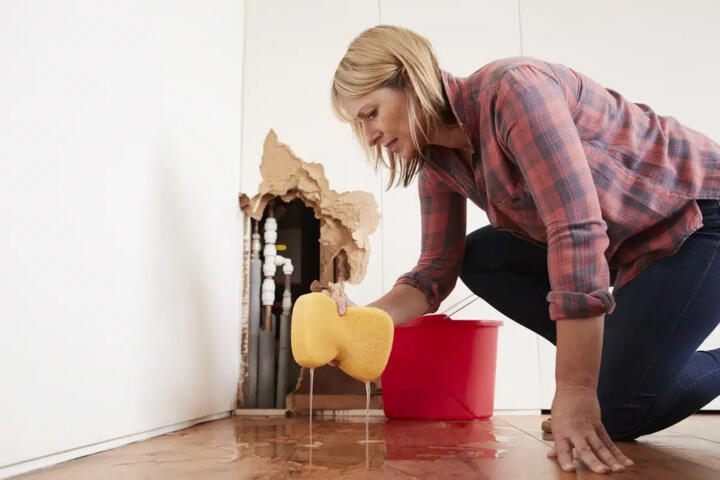
Before filing a claim, capturing clear evidence of damage clarifies your position and speeds up resolution. Insurance companies process over 1.8 million property claims annually in the US alone, yet many face denials due to insufficient proof. Photographing dents after a car accident or recording water stains following a leak provides tangible proof beyond verbal descriptions. For example, a well-documented claim can reduce processing time by up to 30% compared to vague submissions.
Though it sounds straightforward, the real-world complexity often trips people up. The context — lighting, angles, timestamps — counts. Missing details can cause disputes or undervalued settlements.
Preparation tackles this head on.
Documentation Issues
Most people underestimate the detail required to validate damage. The frequent mistake: relying solely on one photo or assuming a quick call will suffice. Damage often evolves or repairs start before documentation, erasing proof.
Failing to label evidence with dates or neglecting to record the object’s state before an event complicates claims. Flood victims who document after cleaning risk losing the baseline for measurement. Some insurers reject evidence lacking original receipts or mismatched policy details.
Ignoring official tools or apps also hurts. Without metadata—GPS coordinates or automatic timestamps—photos might not convince adjusters. Adjusters frequently see claims stalled due to improper documentation steps.
Tips to Document Well
1. Collect Evidence Immediately
Delay skews truth. Capture photos or videos right after spotting damage, before cleanup or repair efforts erase signs. Timeliness locks the scene. Use your phone’s best camera (iPhone 14 Pro, Samsung S23 Ultra) for high-resolution images. Adjusters prefer clear details over artistic angles.
2. Record from Various Angles
Single shots deceive. Take at least five photos from multiple viewpoints to cover the damage fully. Include wide shots showing the damaged item's context as well as close-ups exposing cracks or stains. Zoom in on serial numbers or model tags when possible.
3. Use a Reference Object
Size perception varies. Place a ruler, coin, or item of known size near the damage next to the shot. This offers scale and helps quantifying losses later. Insurance adjusters appreciate such context, helping them verify claims more quickly.
4. Time-Stamp and Geotag Evidence
Adjusters rely on documented timelines. Photos with metadata assure authenticity. Many modern smartphones embed this automatically, but specialized apps like PhotoProof (v3.2.1) add digital signatures. Backup evidence to cloud services like Google Drive or Dropbox to prevent loss and share easily.
5. Write Detailed Notes
Photos alone don’t tell the whole story. Add notes describing condition, cause, and context. Note weather on damage day, events leading to impact, or repairs initiated. Written logs establish narrative and back up visual evidence.
6. Save Original Purchase Proof
Documenting damage sometimes demands proof of ownership or purchase price. Include receipts, warranty info, or appraisals that confirm value. Originals matter. Insurers reject vague value claims.
7. Avoid Tampering or Editing
Editing images—even cropping—raises suspicion. Send unaltered files with metadata intact. Some claimants crop to hide unrelated damage, but it frequently backfires, causing skepticism or denial.
8. Use Claims Apps When Provided
Check if your insurer offers a claim app. Many auto insurers, like Geico or State Farm, include step-by-step guides and upload portals that track submission dates and file versions. Using these systems typically reduces disputes and speeds approvals.
9. Back-Up Everything
Data loss is common. Save files in multiple digital spots, and keep physical copies. Cloud plus local storage saves you from tech faults or accidental deletions.
Cases of Documentation
A construction firm faced a vandalism claim after heavy equipment was damaged on-site. They documented every scratch with dated photos and geo-tagged videos. They also logged witness testimony in writing. Result: the insurance covered 95% of repair costs, speeding payout within 10 days.
Another homeowner tried claiming damage after a roof leak but delayed photography for days, and cleaned the area first. Lacking timestamps and clear signs, the insurer denied the claim. They had to dispute for over 90 days, costing time and stress.
Damage Proof Checklist
| Step | Action | Tools | Outcome |
|---|---|---|---|
| 1 | Capture images instantly | Smartphone camera | Visual proof secured |
| 2 | Multiple angles photographed | Wide lens, zoom | Complete scene context |
| 3 | Add size references | Rulers, coins | Scale clarity |
| 4 | Add timestamps & location | PhotoProof app | Verified evidence |
| 5 | Write detailed notes | Text files, notebooks | Improved claim clarity |
| 6 | Retain purchase proof | Receipts, invoices | Supports value claims |
Errors to Avoid
Waiting too long sacrifices proof quality. Don’t clean up damage until documented. Relying on guesswork or unsupported claims invites rejection. Another error: squeezing all photos into a small email without assuming adjusters have time or tech to request more. Send clear, accessible files immediately.
Editing pictures or excluding metadata out of convenience brings skepticism. Upload raw files straight. Also, don’t skip recording the incident details after damage; the story frames evidence.
Finally, neglecting to confirm claim criteria leads to frustration. Review policy to know needed documents, damage thresholds, and deadlines thoroughly.
FAQ
Can I document damage with a smartphone only?
Yes, current smartphones capture high-quality images with timestamps and geotags automatically, enough for most claims.
How many photos should I take for a claim?
At least five distinct angles plus close-ups and establishing shots to cover damage completely.
Is video useful for damage documentation?
Yes, videos provide a dynamic view of damage and surroundings; they’re often more persuasive than photos alone.
Should I document damage before repair?
Always. Repairs can remove or mask damage signs, weakening claim validity.
What if I don’t have the purchase receipt?
Try to obtain a copy from the seller or bank statements confirming purchase. Some claims still succeed with appraisals or valuations.
Author's Insight
I’ve filed dozens of claims over the past decade, and the cases with the best documentation received faster and fuller payouts. Trust me, snipping a few detailed photos, properly labeled, saves headaches. Many skip simple steps like adding a size reference or timestamp, which I find baffling. One client’s careful video recording once expedited a $10,000 machinery claim in under two weeks. If you take away only this: photograph early, photograph well.
Final Thoughts
Successful damage documentation hinges on rapid, detailed, and verifiable evidence. Use your smartphone to capture multiple perspectives with reference objects and metadata intact. Supplement visuals with written context and original receipts. Avoid common pitfalls like delay, editing, and poor record-keeping to prevent claim denials. Good documentation doesn't guarantee approval but stacks the odds unmistakably in your favor.